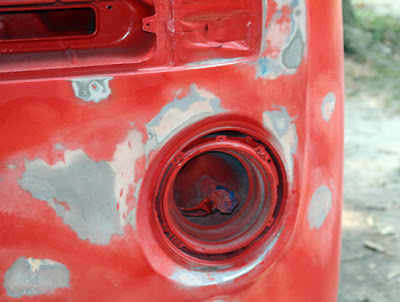
After painting the bus red. It became apparent that there are
some spots and dings that require attention. I'm not going for perfection.
I don't know enough about body work for that. I went back over the bus- sort of a find and fix mission. Here's
some pictures....

After the first 2 coats were applied
it was time to sand and fix the bad
areas. New paint will show your poor body workmanship.

I mixed up some bondo
to take care of the areas that need it.
I mixed it too hot he first time.
You should add as much hardener (red stuff) as you need.
The bondo when mixed, should look like light pink bubblegum. The redder it is- the hotter the chemical reaction becomes, and the faster your bondo dries. You need working time. Mix accordingly.

Once mixed the bondo starts to harden. Mix thoroughly and quickly.
The mix should be smooth and apply smooth. If it's lumpy- it's too hot.
Smooth, adheres better. Makes application and sanding easier.

After sanding and smoothing out the troublesome areas, I made my mix and picked an area to work on.

Apply your bondo.
The goal is to get it where it's needed.
Don't go too thick- you'll be sanding it down after. Use only as much as you need.

When it comes time to sand your bondo.
Protect yourself.
Bondo dust is nasty.
Sand your newly patched areas smooth.
It needs to be flush with the body and feather into the surrounding paint.
I haven't listed different grits of sand paper and the steps involved to do the bodywork to a professional level. The Internet's has plenty of auto body information. Check the Samba.com for some really good information.
I have more posts to make. More soon.
No comments:
Post a Comment