Showing posts with label sanding. Show all posts

Sunday, September 2, 2007

BUS- The Blue Goose ain't Blue! Part 3

So after fixing some spots, I needed to paint the roof.
The roof looked much worse than it actually was.
Sand till smooth and then paint.
That was the plan.
Before I actually painted the roof,
I repainted the red.

The sanding didn't take nearly as long as I thought it would.


I used my handy Makita Sander and after I rolled the paint,
I added one more coat and I let it set.
Two coats of fine quality Rustoleum Gloss White- thinned by acetone at 20%.
I bought some spare parts that need to be installed.
They'll make the bus look much better.

Wednesday, August 15, 2007

BUS- The Blue Goose ain't Blue! Part 2


After painting the bus red. It became apparent that there are
some spots and dings that require attention. I'm not going for perfection.
I don't know enough about body work for that. I went back over the bus- sort of a find and fix mission. Here's
some pictures....


After the first 2 coats were applied
it was time to sand and fix the bad
areas. New paint will show your poor body workmanship.


I mixed up some bondo
to take care of the areas that need it.
I mixed it too hot he first time.
You should add as much hardener (red stuff) as you need.
The bondo when mixed, should look like light pink bubblegum. The redder it is- the hotter the chemical reaction becomes, and the faster your bondo dries. You need working time. Mix accordingly.


Once mixed the bondo starts to harden. Mix thoroughly and quickly.
The mix should be smooth and apply smooth. If it's lumpy- it's too hot.
Smooth, adheres better. Makes application and sanding easier.


After sanding and smoothing out the troublesome areas, I made my mix and picked an area to work on.


Apply your bondo.
The goal is to get it where it's needed.
Don't go too thick- you'll be sanding it down after. Use only as much as you need.


When it comes time to sand your bondo.
Protect yourself.
Bondo dust is nasty.
Sand your newly patched areas smooth.
It needs to be flush with the body and feather into the surrounding paint.


I haven't listed different grits of sand paper and the steps involved to do the bodywork to a professional level. The Internet's has plenty of auto body information. Check the Samba.com for some really good information.
I have more posts to make. More soon.

Thursday, July 12, 2007

BUS-Wood panel Interior

I went on vacation to North Carolina.
My daughters and I stayed at my parents.
While I was there, I had the interior panels made.
I say made, because my Dad made them. I painted and had some ideas, but Dad's the man.
He made them and I really dig them. He has no idea how much I appreciate it.
He also took vacation and worked hard to get these done.
Dad's has some good tools and wood paneling, and paint, and paint brushes,
and basically everything needed to make these panels.
It starts with a work shop, some tools and wood.
My Dad had some "Beady board" wood panels. We decided these would work very well.
They are similar to the ones I was going to buy earlier.


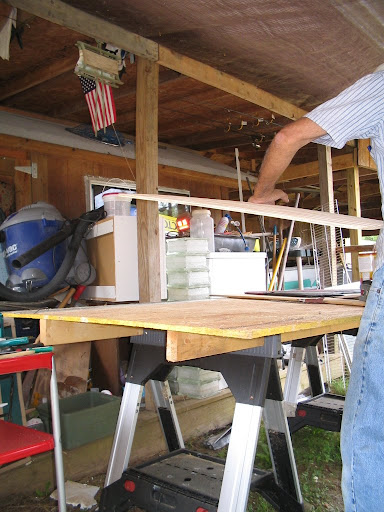
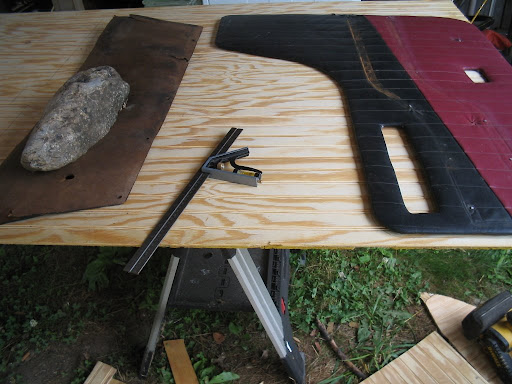
In order to make the panels for the interior, we used the
panels that were in the bus. I brought them with me to North Carolina.
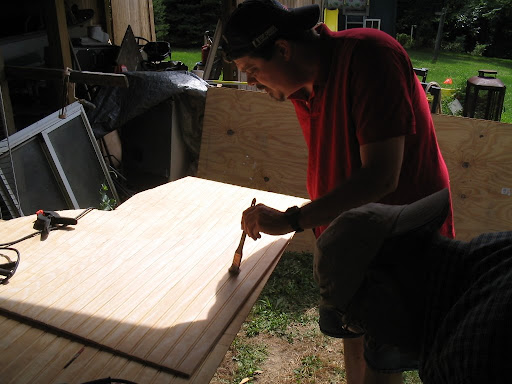
Lay the panels flat, clamp them and trace.
The old panels will make a good template for the new ones.


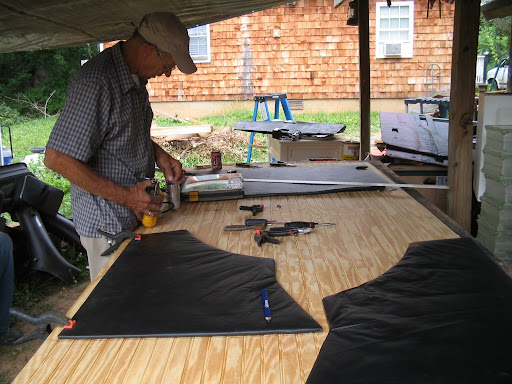
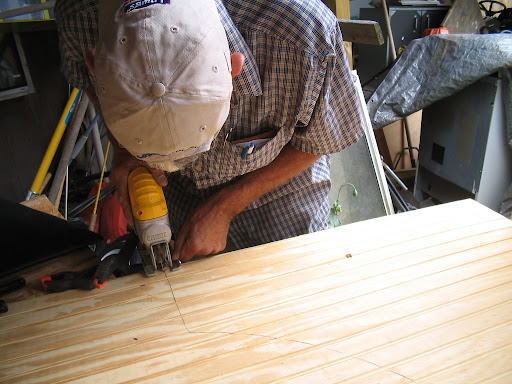
Once the panels were traced we cut them out and sanded the edges and the face of the wood.
The face will be painted with a clear urethane for gloss.
I want the wood to have a natural look.
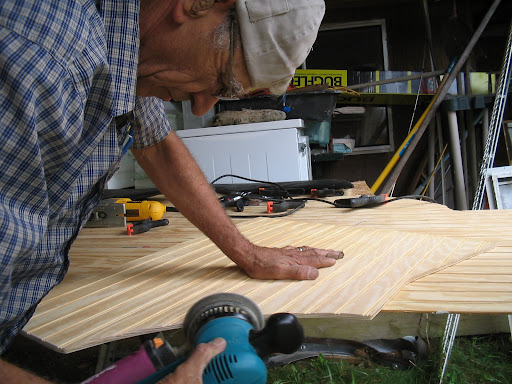


Sanding the edges.


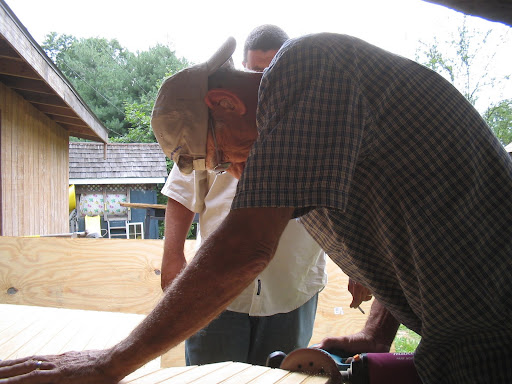
My brother Will was there helping as well. Thanks Bro.
Among other things He gave me a backyard haircut. I needed one.
He does a good job.


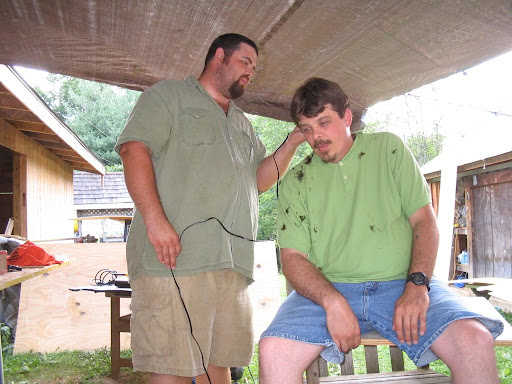
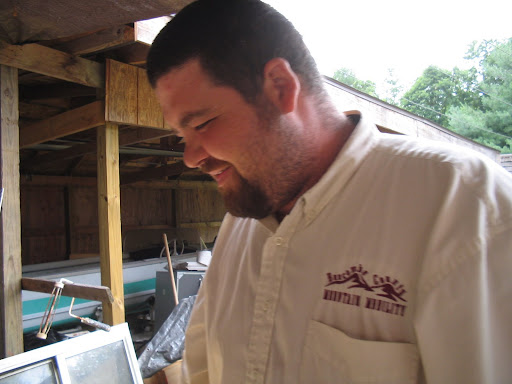
What's he laughing at?


As each panel was cut and sanded, I painted them with clear urethane
Multiple coats help to bring out the shine.


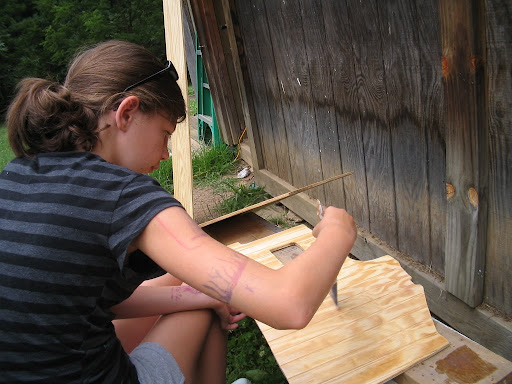
My youngest helped to paint.
She added many coats.
She's been helping me with VW's
since she was 3.
She's a good worker.


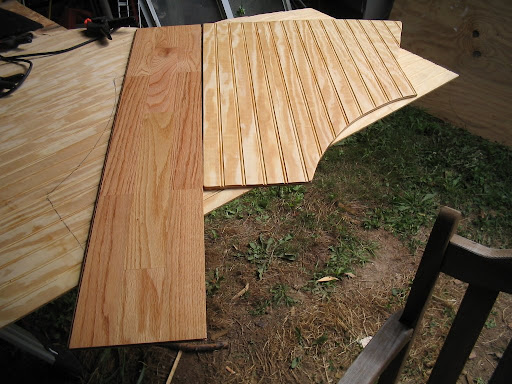
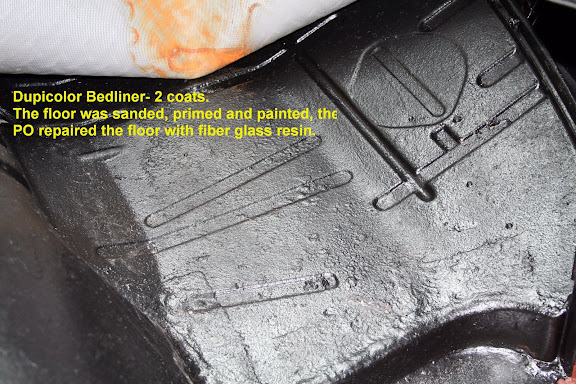
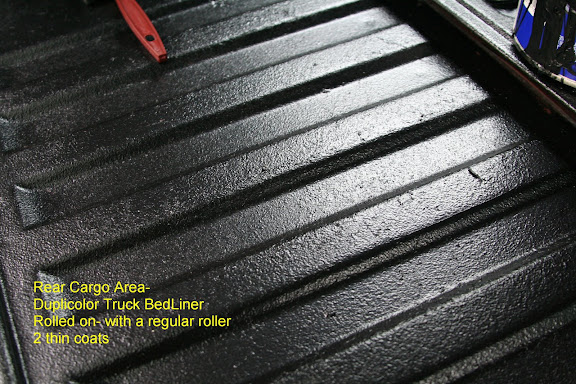
My Dad had some wood flooring.
I like the color.
It's light in color but dark enough to go well with the wood paneling.
Light on the sides, darker on the floor, the ceiling will more than likely
be light as well. I'll install those later. Thanks Pop.
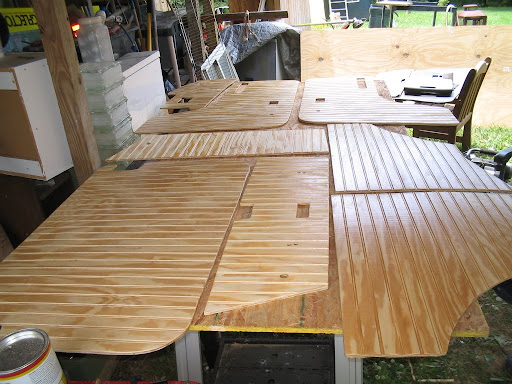


Here you go.
A (mostly complete) 1977 VW Bus
wood interior. Door panels and the interior side pieces. I still have a couple of panels to make. I brought uncut pieces home to complete the job.

A lot of hard work went into
these panels. I really enjoyed spending time with Dad and my
Brother. It was a good time.
They will look great in my bus.

Sunday, June 24, 2007

BUS- Do it yourself truck bed liner pictures.

In earlier posts, I had sanded, primered and painted the floor areas of my 1977 VW Bus.
Duplicolor make paint products and also makes a
Do it yourself truck bed liner / undercoat.
Truck bed liner- dries to a protective, hard covering.
Designed to be applied to areas where protection is needed- mainly truck bed liners.
It can be applied anywhere paint can be used, it has many uses.
I decided to use the truck bed liner on the floor of my bus, to protect, seal and insulate the floor.
I assume some level of additional structural integrity will occur.
It also is flexible and that will lend to insulation.
The floor will eventually be hardwood.
The hardwood floor will go nicely with wooden interior panels.
Here's some pictures of the truck bed liner in my bus.


The front cab floor was sanded, and primered with Rustoleum Stop Rust primer paint.


Some images have text.
Click for larger images.


I also sanded and primered the rear cargo area.
I used Rustoleum as well.


If you decide to use a Truck bed liner or an Undercoating product,
after the area has been sanded and primered, you have to sand
the area to be treated again. The truck/undercoat needs a "tooth,"
for the product to correctly adhere to.
Rough it up with a light sanding.
If the prepared area has any sheen or is shiny, rough it- using a fine grit sand paper
or a 3m red scuff pad. No sheen/shiny is good.
Your preparation should take longer than actually applying the product.


I got carried away and decided to do the front cab wall as well.
Insulation will be applied
to make the bus quiet and warm.


The fiberglass patch was there
when I got the bus. I'll leave it for now.
I decided to go thin with the coats.
I wasn't sure if I would like the results.
It would easier to remove thin coats, versus
a thick coat. You can add coats later.
I may do that.


It should be noted that I did not use the kit that's available. I bought a pint of the actual bed liner ($16.00) and a regular paint roller. I also used a regular paint roller sleeve. The foam roller style will disintegrate on use. I did use a foam touch-up brush to reach those hard to reach areas.
NOTE: wear gloves, this stuff is very hard to get off. It dries quickly, so working fast is good.
Be ready.

Tuesday, May 29, 2007

What I did for Memorial Day-

I spent 3 days working on my 1977 VW Bus. AKA The Blue Goose.
Heres a list of what I did-
  1. Cleaned, Sanded and Primered the Front Floor.
  2. Cleaned, Sanded and Primered the Rear Floor.
  3. Cleaned, Sanded and Primered the Cargo Area.
  4. Cleaned, Saned and Painted Windshield Wipers.
  5. Removed the radio.
  6. Removed the entire Dash.
  7. Separated the dash into it's 2 components.
  8. Cleaned all vent connections and vent tubing and connections.
  9. Cleaned and painted ashtray.
  10. Cleaned and primered the Area below the windshield.
  11. Cleaned and painted the dash.
  12. Cleaned, Sanded, Primered and Painted the metal dash cowling.
  13. Inspected the electrical wiring behind dash.
  14. Inspected electrical switches and connections.
  15. Cleaned and Primered the seat stand pedestals.
I'm sure I forgot some things.
Overall it was perfect weather, I worked an average of 9 hours a day over three days.
It was hot and the work was dirty and I enjoyed every stinking minute of it.
There's something satisfying about seeing a river of dirt water coming off of you in the shower
after a long day.
Excellent weekend.
Much needed.
Significant progress was made on the bus.
Much of which was done to make the bus street worthy.
Pulling the dash off and inspecting all the electrical connections is very important.
Being able to see previous electrical work and the "fixes," will allow me to correct bullshit repairs.
Fixing the floor allows me to make them ready for truck bed liner coating.
I'll do that myself. This will over all- strengthen the floor and allow me to insulate and run new wiring. Also allows me to address any rust issues.
Here's some pictures of what was done so far-

Time to remove the screws and bolts that hold the dash to the windshield.


Radio is no more. Cassette is a dying breed.
Dash has been removed. Nice wiring..


Dash is out. Needed to be sanded and painted.

Metal cowling Separated from dash. Primered.

Dash was cleaned and painted with Hyster Forklift Paint- Low Gloss black. Excellent paint.

Also painted the vent components with a high gloss black, for contrast.

Hyster paint for the wipers too. (along with other components)


The front floor is ready for paint and spray on bedliner.


Rear Floor is also ready.

Cargo floor is ready as well.


Cargo floor is also my work bench.

Thanks Scott- Hyster Forklift paint is outstanding.
Scott has a case of this stuff.
Great paint.

Great weekend good progress, I'll post more pictures later.

Wednesday, April 18, 2007

There's a time for everything, and there's a time for auto body

After the Blue Goose was towed over and situated, I had to wait a while before I could start the process of restoration and making the bus safe for the road.
Money is always a factor and the goal is a reliable daily driver.
It was decided that the body should tackled first. The Goose was stored in a garage but now is stored outside. Being exposed to the elements allows rust to be formed at an exponential rate.
So the current priority is to secure the body from rust and get it ready for paint. The engine has good compression and I'm confident it will be fine. Besides, the engine will be pulled in order to clean and re torque and take care of the engine compartment and to preserve the area. It's easier to work on it out. I really want to inspect it, from every angle.
Back to the body.......
I went to work on the bus and, as I no longer have the tools I used to , I've had to accumulate them. I started with a palm sander and sand paper.
I also enlisted the help of my daughters and my niece.
My oldest is the photographer, my youngest and my niece are the auto body workers.

Safety is always a concern.
We all have safety gear- using it correctly is important and a slight learning curve had to be over come.


Wrong........ Right...

Wrong.................


Right........................
Right........... Now they're ready.........

Once we were ready- we started.

I sanded-


My niece sanded...........................


My Daughter sanded...................


Sanding is long and arduous and I'm still not done...

Overall it was a good day.
My workers worked hard, occasionally stopping every 10 minutes or so for a cold soda break.
We sanded, a little made very little, progress and had a good time..


We nearly had a mishap though,
I almost slipped on an old banana.
Ha.